Hard Cider Instructions
Total Time - 4 weeks
| TIMES PER DAY | FIRST TIME | INTERMEDIATE | ADVANCED |
| FERMENTATION PREP | 30 MIN | 30 MIN | 30 MIN |
|
BOTTLING DAY (TWO WEEKS LATER) |
1.5 HRS | 1 HR | 45 MIN |
The Beers Will Be Carbonated and Ready 2 Weeks After Bottling
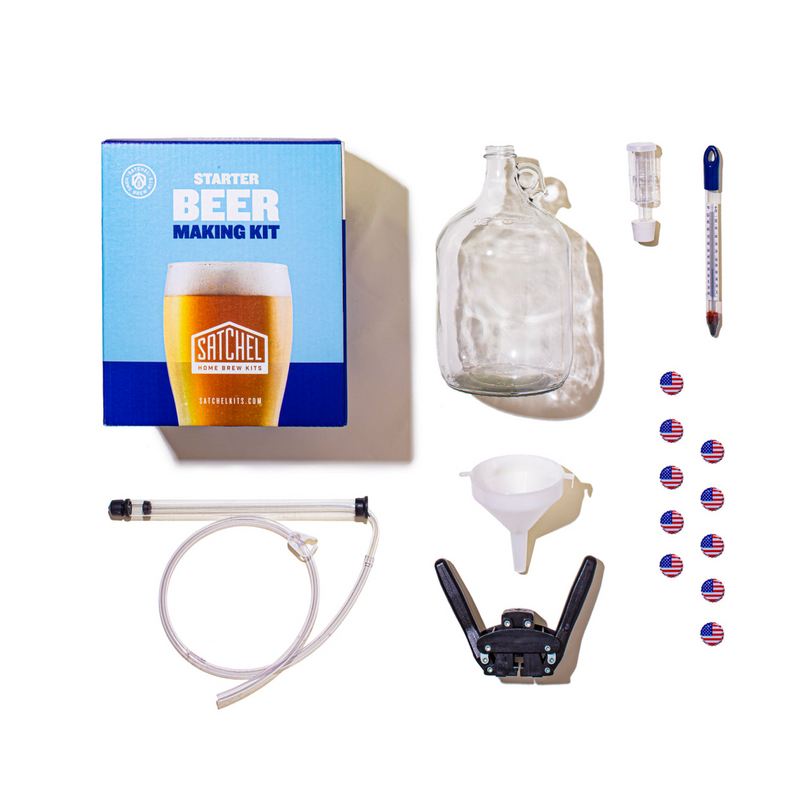
FERMENTING EQUIPMENT:
Fermenter - Buy Here
8-12 quart container - Buy Here
Rubber Stopper - Buy Here
Thermometer - Buy Here
Funnel
Tubing
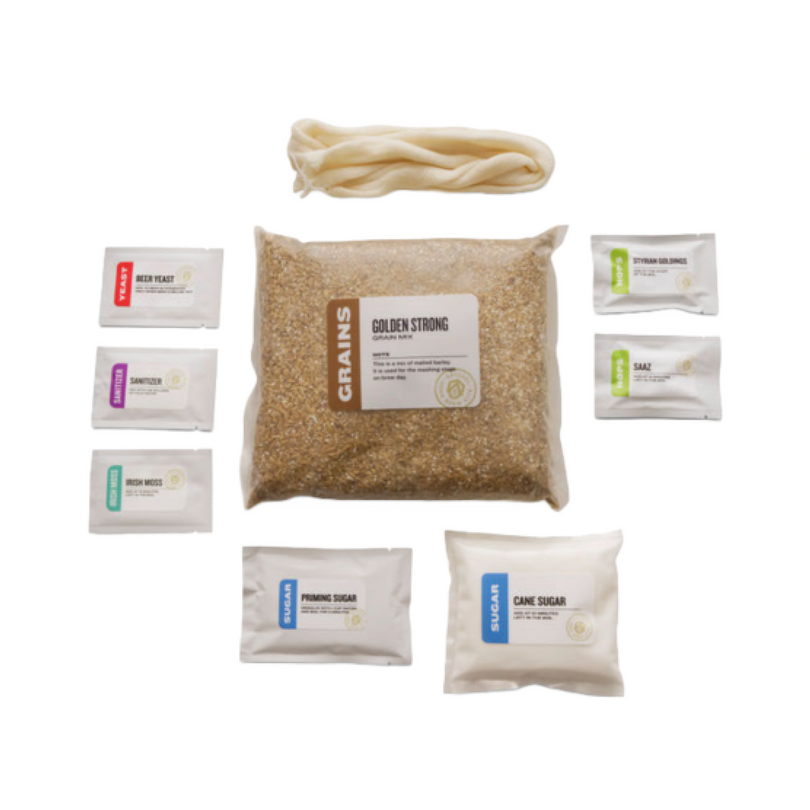
Sanitizer
Yeast
BOTTLING EQUIPMENT:
8 quart pot with a lid
Small saucepan with a lid
Mini Auto-Siphon
Sanitizer
10 Bottles (non-twist off or swing top such as Grolsch) 10 Bottle caps (if non-twist off)
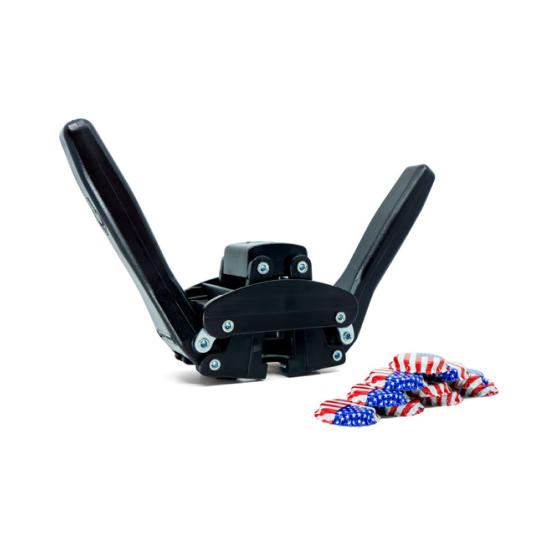
Bottle Capper (if non-twist off)
CHOOSING CIDER
When choosing a cider for your base, it is important to get one that will not kill the yeast that you add or bring its own variety of wild yeast. The best way to do this is to buy preservative free, flash pasteurized apple cider. Red Jacket apple cider is a great option and is sold at most Whole Foods stores. Below are some more detailed notes on what kind of cider to buy.
- Use cold pasteurized or flash pasteurized cider - this means it was pasteurized with UV light.
- Use cider that does not have any preservatives because this will kill your yeast. Citric acid is ok.
- If you get farm fresh, unpasteurized cider, bring it to 180°F in a large pot and hold at temp for 5 minutes. This may bring a slightly cooked apple flavor, but will do a good job of eliminating pathogens and wild yeasts while allowing you to use farm fresh cider.

PREPPING THE CIDER
Whether you bought pasteurized cider from the store, or pasteurized your own cider with heat, it is important to bring your cider to the appropriate temp before beginning.
1. Bring 1 gallon of pasteurized, preservative free, apple cider to 64°F-72°F
2. In the meantime, pour one sanitizer packet into a container that can hold 6-8 quarts of water and fill with 5 quarts of water. Stir to dissolve. Keep in mind that this sanitizer takes 1 minute of contact to sanitize something. Set two cups of sanitizer aside and cover with plastic wrap for step 12 in 3 days.
3. Sanitize the glass fermenter by filling it with 2 inches of sanitizer solution and shaking it vigorously for 1 minute while covering the opening with one hand until everything is covered in foam. Place upside down in a drying dish rack or on clean paper towels against a wall. All of the foam will not go away, this is fine and will not harm the beer.
4. Sanitize the rubber stopper, tubing, funnel, and a strainer and place to dry.
5. Sanitize the tip of your thermometer and check the temperature of your cider. Allow it to sit at room temp until it reaches a range of 64°F-72°F, being sure to sanitize the thermometer between each time you check.
PITCHING THE YEAST
6. Once your cider has reached 64°F-72°F, set the glass fermenter on the floor and place the funnel into the opening. Carefully pour the beer until it reaches a little over the words that say “One Gallon”. If the beer level is below the “One Gallon” mark, bring it to the correct level with cold tap water from a faucet. Make sure the mouth of the fermenter does not touch the faucet.
Pitching the Yeast
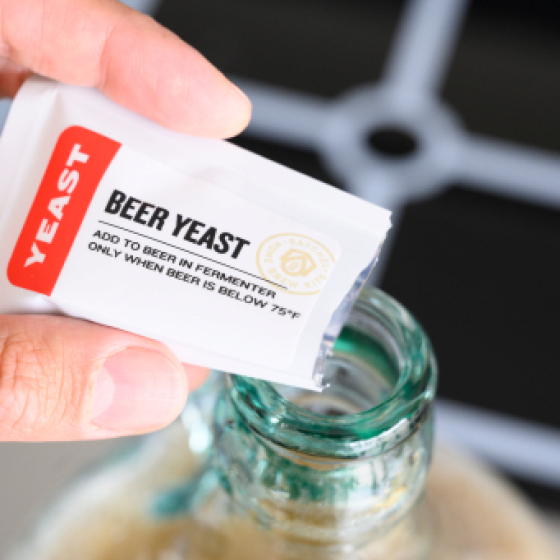
7. 7. Remove the funnel and carefully pour the contents of one yeast packet into the carboy (fermenter). Insert the rubber stopper.
8. Dip your hand into the sanitizer and then cover the hole of the rubber stopper - shake aggressively to agitate the yeast. The idea is to break up the yeast and introduce it to oxygen and cider
9. Insert the tubing into the rubber stopper. It is easiest to remove the stopper (with clean hands), insert the tubing, and put the stopper back.
10. Fill a cup with sanitizer and insert the open end of the tube into the water.
11. Set into a closet for two weeks. Keep cider in the dark for the entire time. Occasionally peeking is ok.

Three Days Later
12. After three days, use the reserved sanitizer to sanitize and fill the 3 piece airlock. Slowly pour the sanitizer in until it reaches the fill line, then replace the tubing with it.

BOTTLING INSTRUCTIONS
Bottling Equipment:
8 quart pot with a lid
Small saucepan with a lid
8-12 quart container
Mini Auto-Siphon
Tubing
Measuring cup
Sanitizer
Slotted Spoon
10 Bottles (non-twist off or swing top such as Grolsch)
10 Bottle caps (if non-twist off)
Bottle Capper (if non-twist off)
Preparing the Priming Solution
1. Measure one cup of cold tap water and pour it into a small saucepan.
2. Bring the water to a boil and stir in the sugar. Reduce the heat to maintain a light rolling boil to avoid scorching the sugar and boil for 5 minutes.
3. After 5 minutes, turn off the heat, cover the pot, and set aside to cool. The liquid must be at room temperature for bottling, so it is advantageous to do this step well before you start bottling.
4. While the liquid is cooling, move the fermenter to where you will bottle. You want the fermenter to be about 12 inches above the pot you will be siphoning the beer into. In most cases, putting the pot in an empty kitchen sink and the fermenter on a counter will be sufficient. You want to move the fermenter early so any kicked up sediment has time to settle.
Preparing for Bottling
5. Make a bath in a sink with dish soap and hot water and soak 10 non-twist off bottles for 20 minutes.
6. While the bottles are soaking, prepare the sanitizer in an 8-12 quart container by dissolving one sanitizer packet with 5 quarts of cold water
7. Rinse the bottles with warm water clear of all soap suds and sanitize for 1 minute at a time by dunking each bottle in the sanitizer until bubbling stops. Set the bottles upside down on a dish drying rack or clean paper towels against a wall.
8. Sanitize the auto-siphon, tubing, 10 bottle caps, and a slotted spoon. Set aside to dry. If there is residual foam, don’t worry. Sanitize the 8 quart pot by pouring in 1-2 inches of water, covering the pot and swirling/shaking it to ensure that the sanitizer covers all surfaces.
Combining the Beer and Priming Solution
9. Once the sugar solution is at room temperature, begin to siphon the beer into the sanitized pot by inserting the base of the syphon with one hand about half way into the fermenter. Be sure not to get too close to the bottom of the pot.
10. With the other hand, make sure the clamp is open, ensure the end of the tubing is facing the sanitized pot, and slowly lift the inner portion of the syphon and press it down until the liquid starts to flow - it may take a few pumps to get going. This can be a little tricky, so check out the video here! Video
11. As the beer level in the pot gets to about 2 inches, slowly pour in the sugar solution. Try not to splash because the beer is very sensitive to oxidation and contamination at this stage.
Siphoning into the Bottles
15. Line up your bottles in the sink and siphon the beer from the bottling pot into the bottles using the auto siphon in the same way. Once the beer approaches half way up the bottle neck, click the bottling clamp into place. When the tube attached to the siphon is at the bottom of the next bottle, release it to start filling again.
16. Place a cap on each bottle. Use the capper to cap each beer individually by placing it over the cap/around the neck and firmly, but slowly swinging the handles down.
17. Once you are done capping, rinse the outside of the beer bottles with cold water, dry, affix any labels, and store the beers in a cool dark space for 2 weeks.
18. After 2 weeks, refrigerate your beer overnight and enjoy! Post your beer and tag @satchelbeerkits to be enrolled in our monthly recipe kit giveaway!
FERMENTER CLEANING
While there are many ways to clean a fermenter, we find that the most consistent method is to use a chemical called PBW - available here. The instructions below are for 10g PBW tablets, but the same instructions apply for roughly 1 tsp of PBW powder.
1. After bottling, rinse fermenter thoroughly with hot water. Most dirt will remain, but you want anything that is loose out.
2. Drop 1 tablet into the fermenter and fill with hot water. Once full, wait about 30 seconds for the foam to settle and top off to the brim with hot water.
3. Let sit for 25 minutes, shaking gently half way through.
4. After 25 minutes, rinse fermenter thoroughly with hot water. We suggest filling the fermenter and shaking vigorously several times and then filling to the top and dumping a final time.
5. Dry fermenter by placing it inverted in a dish rack or leaning it carefully against a wall with the opening resting on clean paper towels. Once dry, your fermenter should look brand new and be ready for your next brew!

